Html Customization migration guide to React

React version of the frontend is currently enabled through
Plugin.Frontend_BETAconfiguration setting.
After the new frontend is feature-complete the configuration setting and old frontend will be removed.
The principles behind using plain .html, .css and .js files and React-bundle are completely different, so it makes sense that Html Customization had to be completely revamped. This may increase level to entry for those new to web development, but several steps have been taken to try make customization easier.
- 🏁 Goals
- ✔️ Requirements
- ⚙️ Preparing for modifying React-bundle
- 🏗️ Using a customized bundle
- 👓 Tools that help with modifications
- 🗳️ Migration Examples
- Allow anything to be changed
- Allow you to keep your customized files up-to-date with latest Plan changes, using git
Following software needs to be installed before you can start customizing
- Java Runtime
- Git
Navigate to a suitable folder and run the following on your command prompt/terminal.
On windows you can right-click in a folder and 'Git bash here'

Run this on the terminal to get the React-bundle
git clone https://github.com/plan-player-analytics/Plan.git
(If you want to propose your changes for merging to Plan later, fork
 and clone the fork instead)
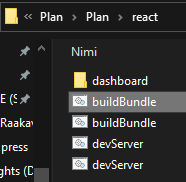
The react files will be placed in {command execution directory}/Plan/Plan/react.
Navigate there using
cd ../Plan/Plan/react
in the folder Plan/react run:
./buildBundle.sh
or on Windows you can click buildBundle.bat
On your server with Plan installed, there is a /plugins/Plan/public_html folder (Configurable with Webserver.Public_html_directory config setting). If this folder has not been created, access the webserver or create it manually.
Copy files inside Plan/react/dashboard/build to /plugins/Plan/public_html
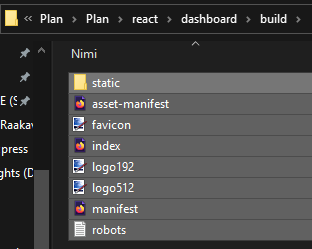 ➡️
➡️
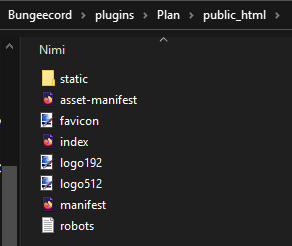
This will override the default bundle inside Plan.jar
Development tooling is still being improved, but this should get you started.
Open Plan/react/dashboard/package.json and change "proxy" to the address of your Plan webserver
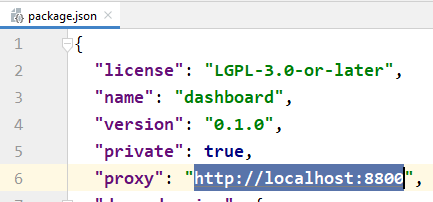
The webserver can be anywhere (Even on your currently running Plan instance)
in the folder Plan/react run:
./devServer.sh
or on Windows you can click devServer.bat
A browser will open with localhost:3000 as the address. Any changes you make to the react files will automatically be visible here.
🐞 Bug in current dev tools: After you stop the
devServerprogram you need to manually killnodethrough Task Manager on Windows orkillon linux
When Plan updates the html files can change. You can use git to update your files to newest version.
in the folder Plan/react run:
git pull --rebase
This will update all files to newest version while keeping your changes on top.
If this fails, run
git add -A
git commit -m "My changes"
git pull --rebase
You may need to fix conflicts if a line in the files was modified by you and Plan developers. You can use following command to keep track if you have fixed them.
git status
- Place your custom favicon.ico directly to
public_htmlfolder
- Replace
Plan/react/dashboard/src/Flaticon_circle.pngwith your logo image - Build the bundle and place it to
public_htmlfolder (Steps 2.1 - 2.2)
- Open
Plan/react/dashboard/src/views/layout - Open any of the
___Page.jsfiles and look forconst items - Add a new entry to the list
{name: 'My link', icon: faGoogle, href: "https://www.google.com", external: true},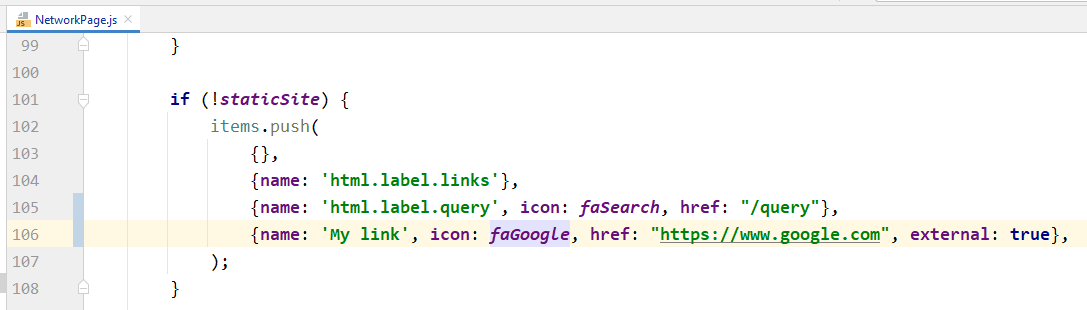
- (Remember to add import for the new icon, icon list can be found https://fontawesome.com/search?o=r&m=free)

-
{}will render a divider and anything without ahrefwill add a header on the sidebar

- (Remember to add import for the new icon, icon list can be found https://fontawesome.com/search?o=r&m=free)
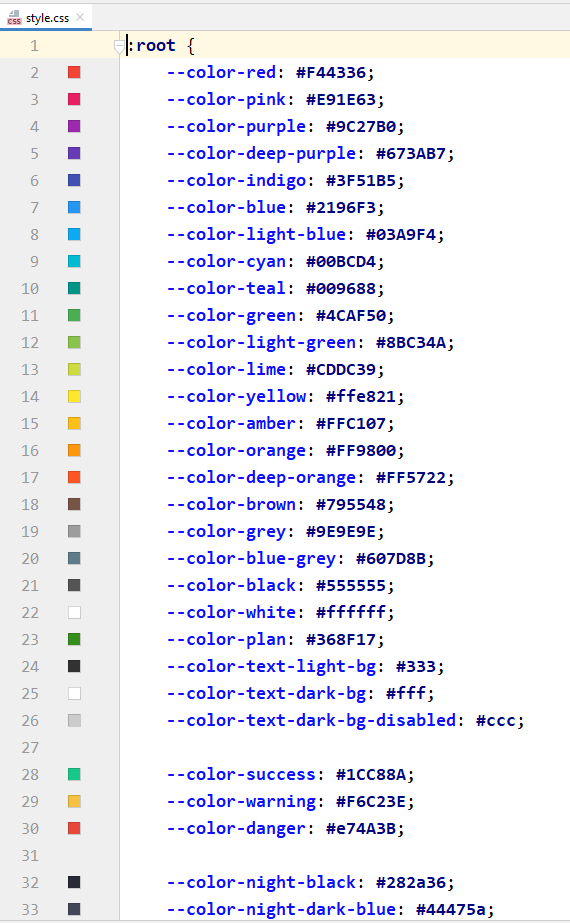
- All colors are stored in style.css
- Feel free to ask in https://github.com/plan-player-analytics/Plan/discussions/categories/apis-and-development or on Discord https://discordapp.com/invite/yXKmjzT